Taro and Salted Egg Yolk Mooncakes From Blooms and Baking Author Amy Ho
A Mid-Autumn Festival delight.
Mid-Autumn Festival is one of my favourite holidays, and this year it falls on September 21. Growing up, my Mid-Autumn Festivals were filled with paper lanterns and mooncakes. After family dinner on the night of the festival, I would walk over to friends’ houses to play with paper lanterns. When I was younger, I ate mooncakes just for the salted egg yolk centre. I did not develop an appreciation for the rich and intense lotus seed filling until I got older.
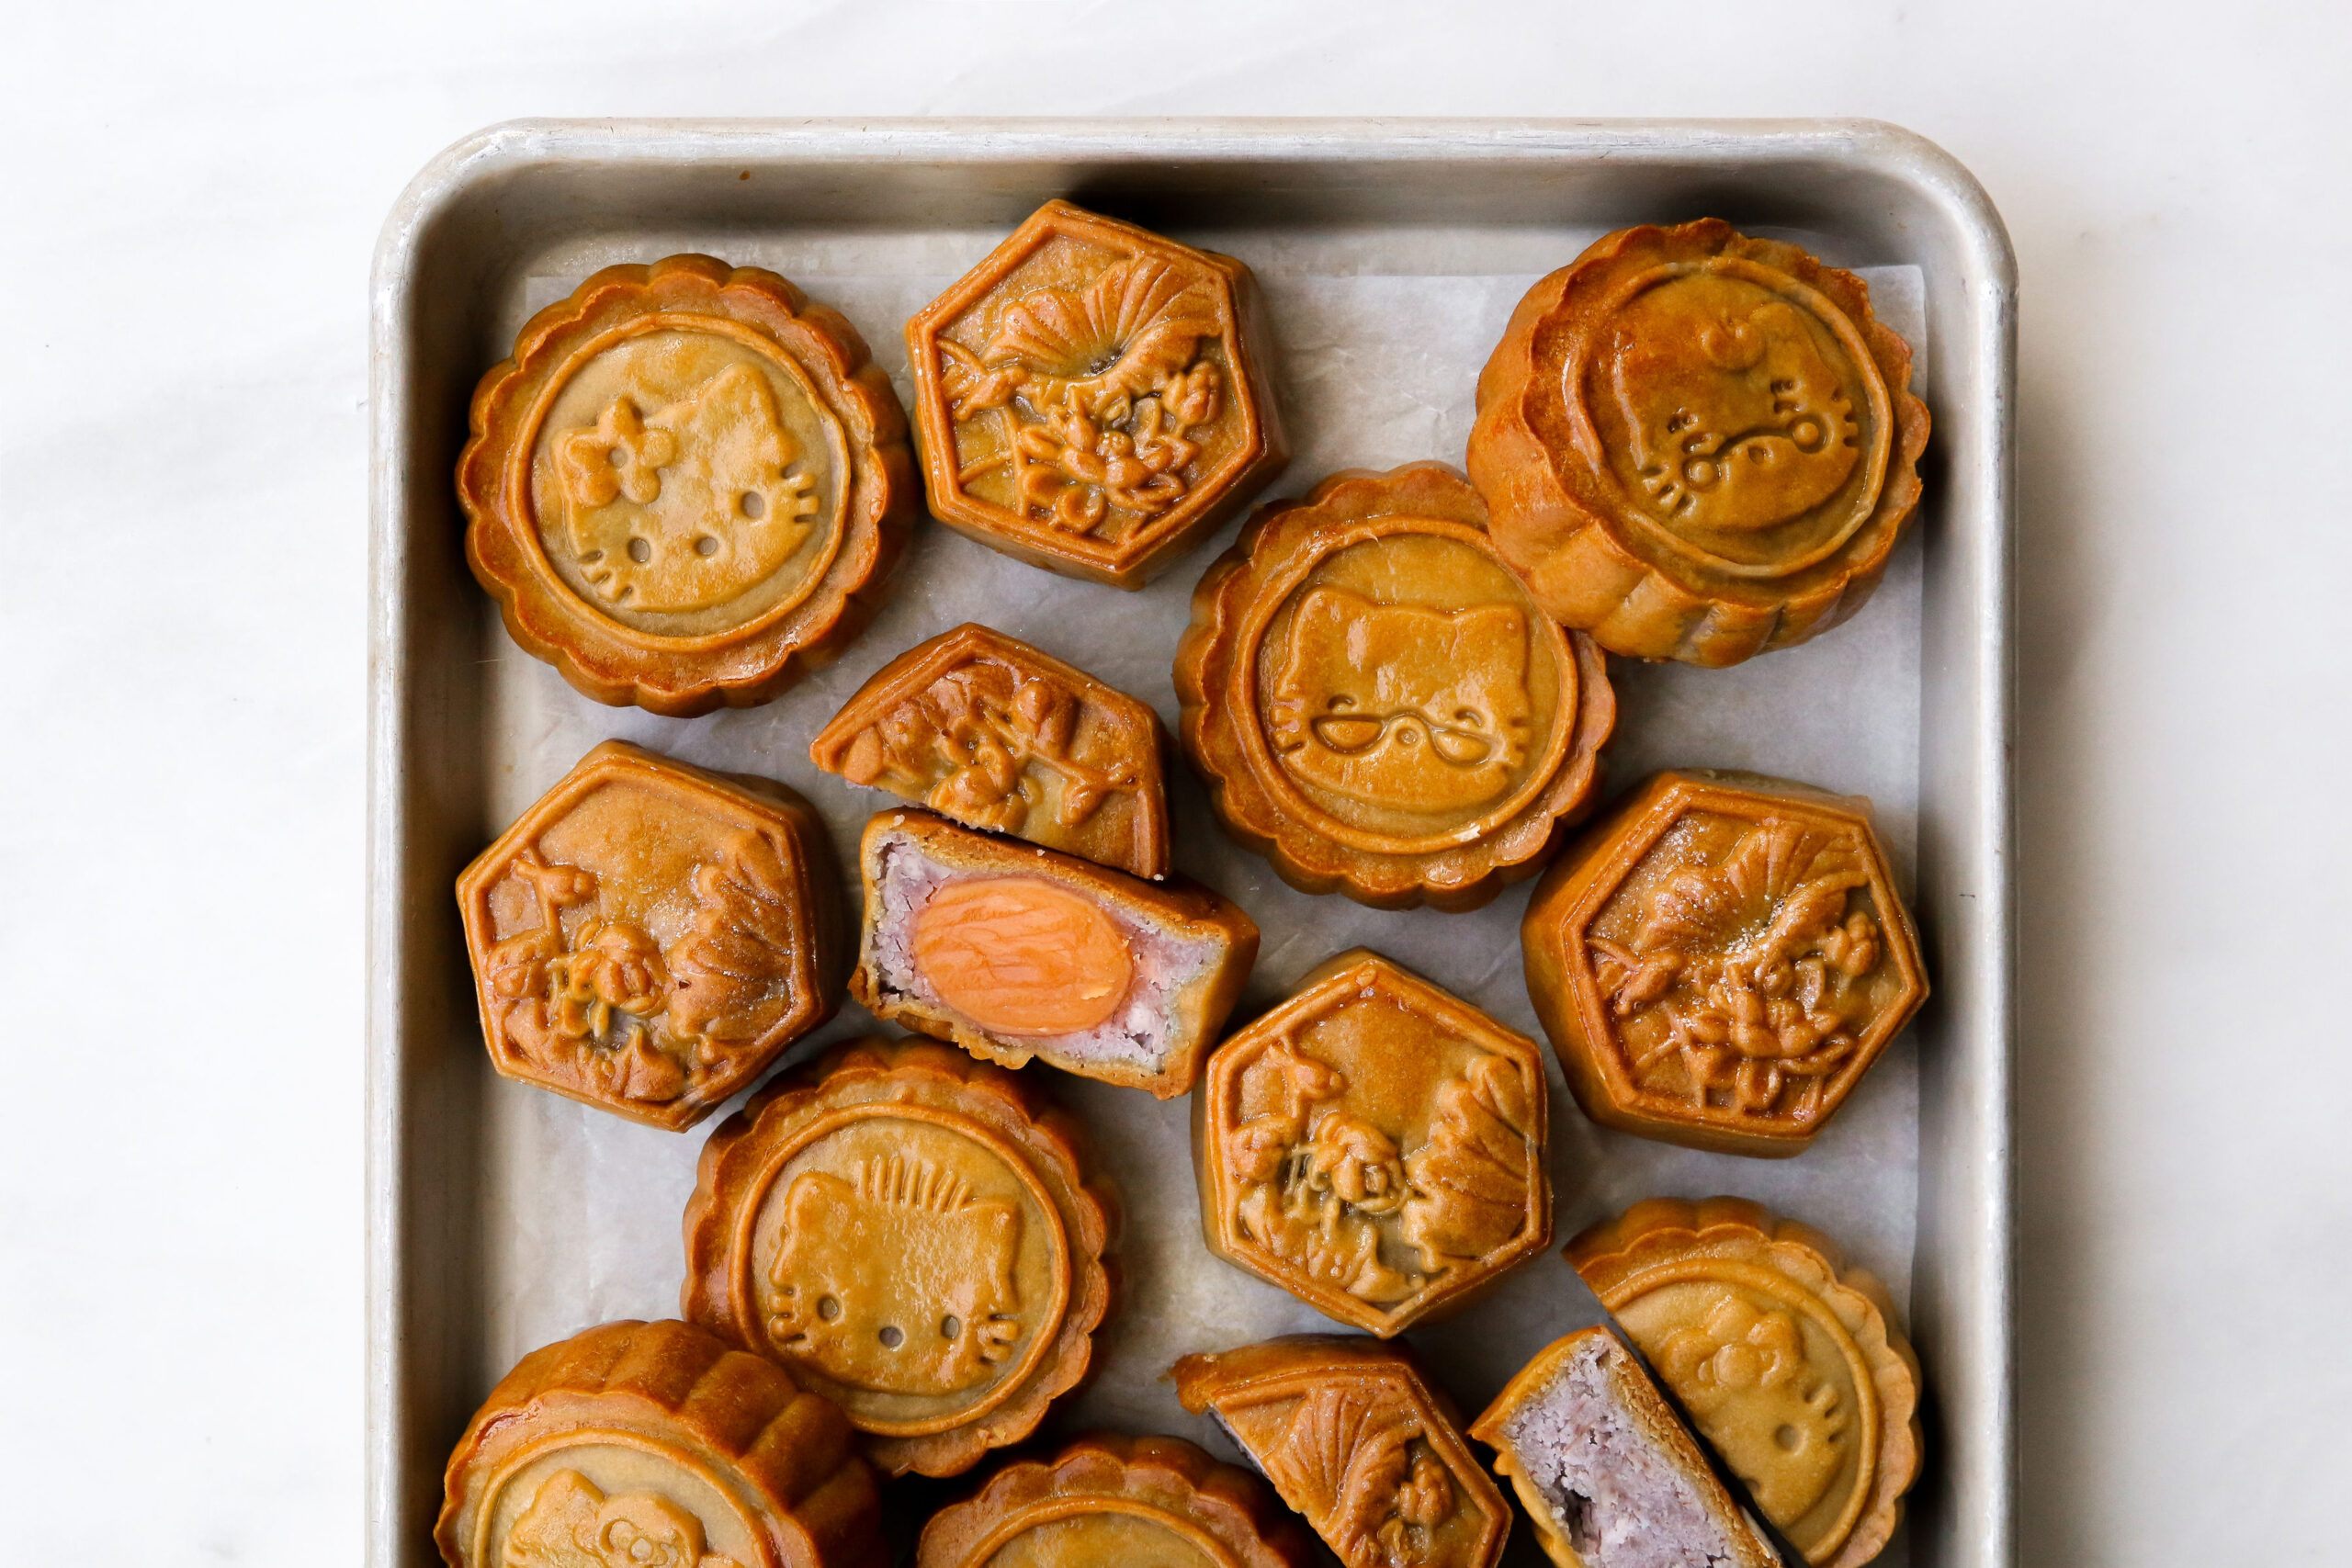
A mooncake is not what we normally associate with the word “cake.” It is a puck-sized dessert of an intensely rich and earthy lotus seed paste baked inside a thin, soft crust. A salted duck egg yolk in the centre of the mooncake represents the full moon on Mid-Autumn. The salted egg yolk is slightly sweetened by the lotus seed filling and is the perfect combination of sweet and savoury. Instead of a traditional lotus seed filling, these mooncakes are made with a creamy taro and centre, but they still feature a salted egg yolk centre.
Ingredients
For the taro coconut filling:
900 grams taro and/or purple yam, steamed
60 millilitres full-fat coconut milk
150 grams granulated sugar
1/2 teaspoon kosher salt
For the salted egg yolk:
12 cooked salted duck egg yolks (can omit and use more taro filling for mooncakes)
For the mooncake dough:
140 millitres golden syrup (you can substitute honey, but mooncakes will be less golden)
80 millilitres vegetable oil
1 teaspoon lye water (kansui)
200 grams all-purpose flour
For the egg wash:
1 large egg yolk
1 tablespoon water
Method
For the taro coconut filling:
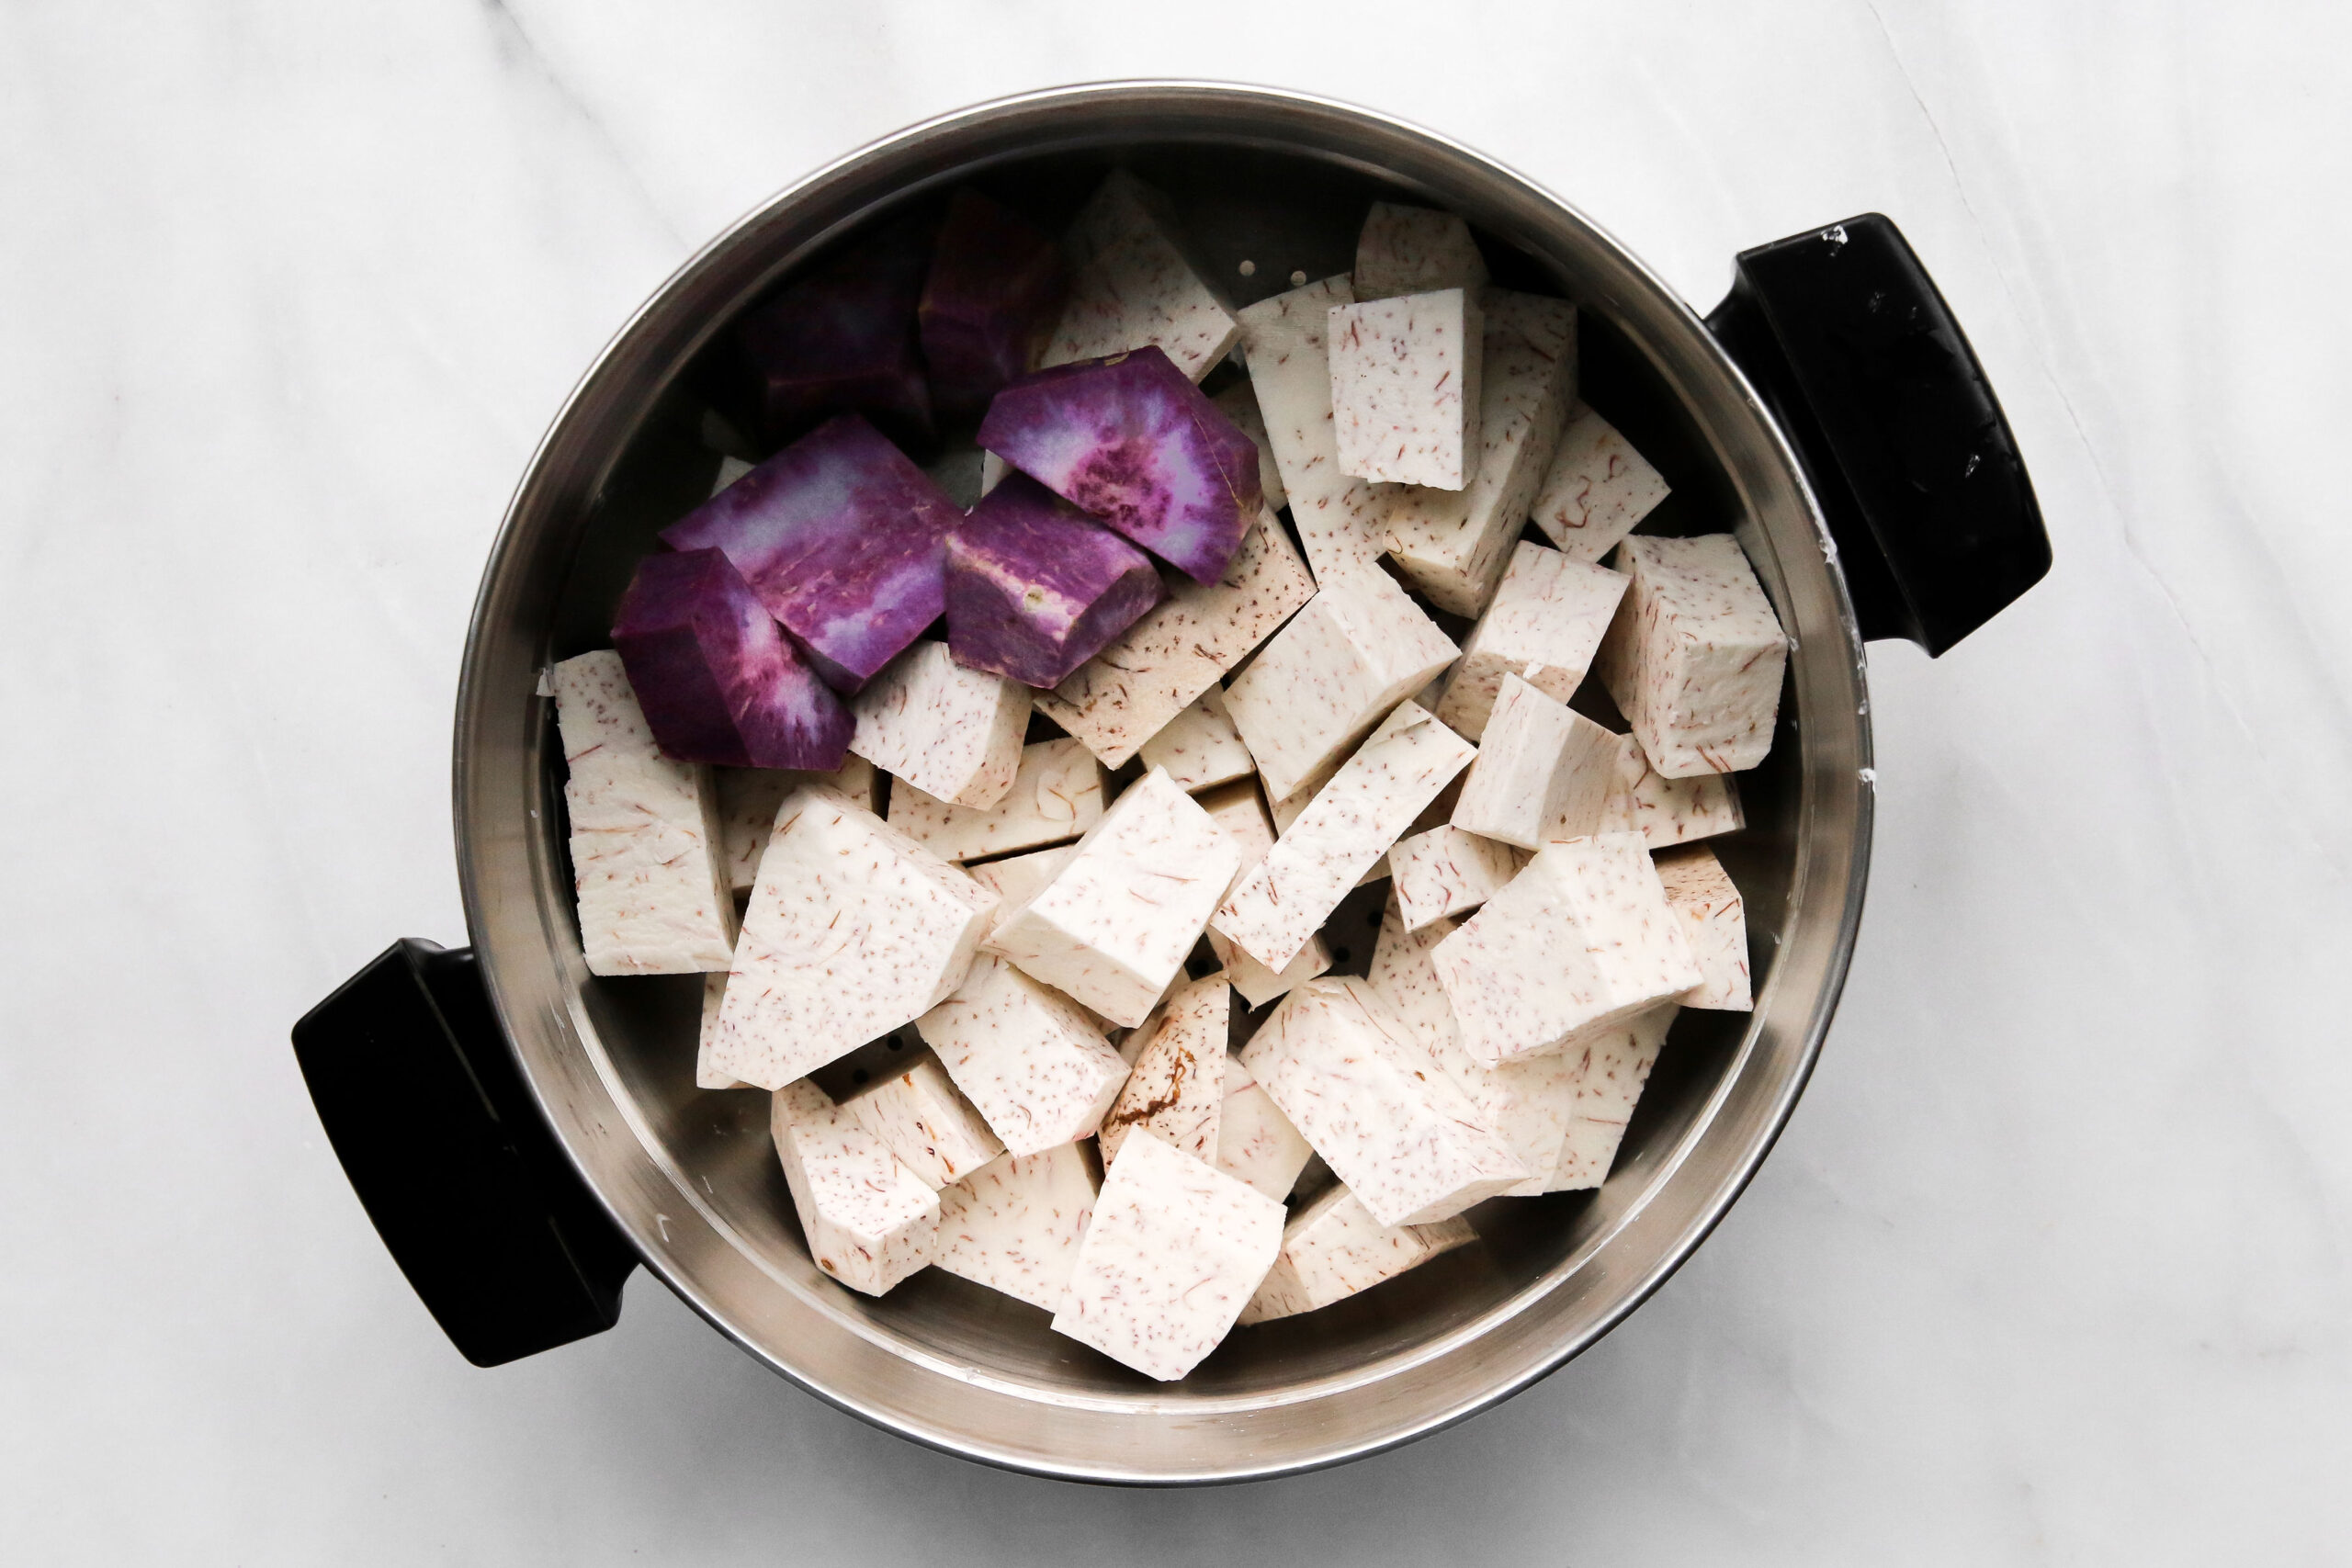
Wash and peel taro root with potato peeler. Wearing gloves for this step is helpful because raw taro can leave skin feely waxy and itchy. Cut taro into 1-inch cubes. Repeat steps for purple yam.
Place taro and/or purple yam cubes into a steamer or steaming basket. Steam until tender to the fork, about 30 minutes.
Remove taro and/or yam from steamer. Using a fork or potato ricer, mash the root vegetables into a smooth paste. Alternatively, transfer taro and/or yam to the bowl of a stand mixer and use paddle attachment to beat the mixture until smooth.
Add coconut milk, sugar, and salt to the mixture. Mix until well combined and paste is smooth.
Transfer filling to the fridge for 2 hours. Chilled taro filling is much easier to work with.
For the mooncake dough:
In a large measuring cup, whisk together golden syrup, vegetable oil, and lye water.
Add mixture to flour. Using a rubber spatula, fold and combine everything into a soft, smooth dough. Do not overwork the dough.
Cover dough and let rest in the refrigerator for 1 hour.
Assembly
Preheat oven to 325°F.
Weigh out 35-gram scoops of taro filling and gently shape each portion into balls. If using salted egg yolks, the combined taro filling and salted egg yolk should add up to 35 grams.
Weigh out dough into 15-gram pieces. Keep any leftover dough to use for mending when dough cracks during shaping process.
Take one of the taro balls and make a deep well in the middle. Insert one salted duck egg yolk into well. Close top and reshape into a ball, trying to make sure egg yolk is as centred as possible. Repeat for remaining portions of filling.
Lightly dust mooncake wrapper dough balls with flour. Roll out dough ball between two pieces of parchment paper into a 4-inch round.
Put one ball of taro filling at the centre of the rolled-out dough. Carefully use the parchment paper to fold the dough onto the filling so it wraps around the filling. If dough cracks, reshape it and patch any holes with reserved dough.
Turn the opening side up and slowly press together to close the opening, covering all surfaces of the filling. Keep the distribution of dough as even as possible.
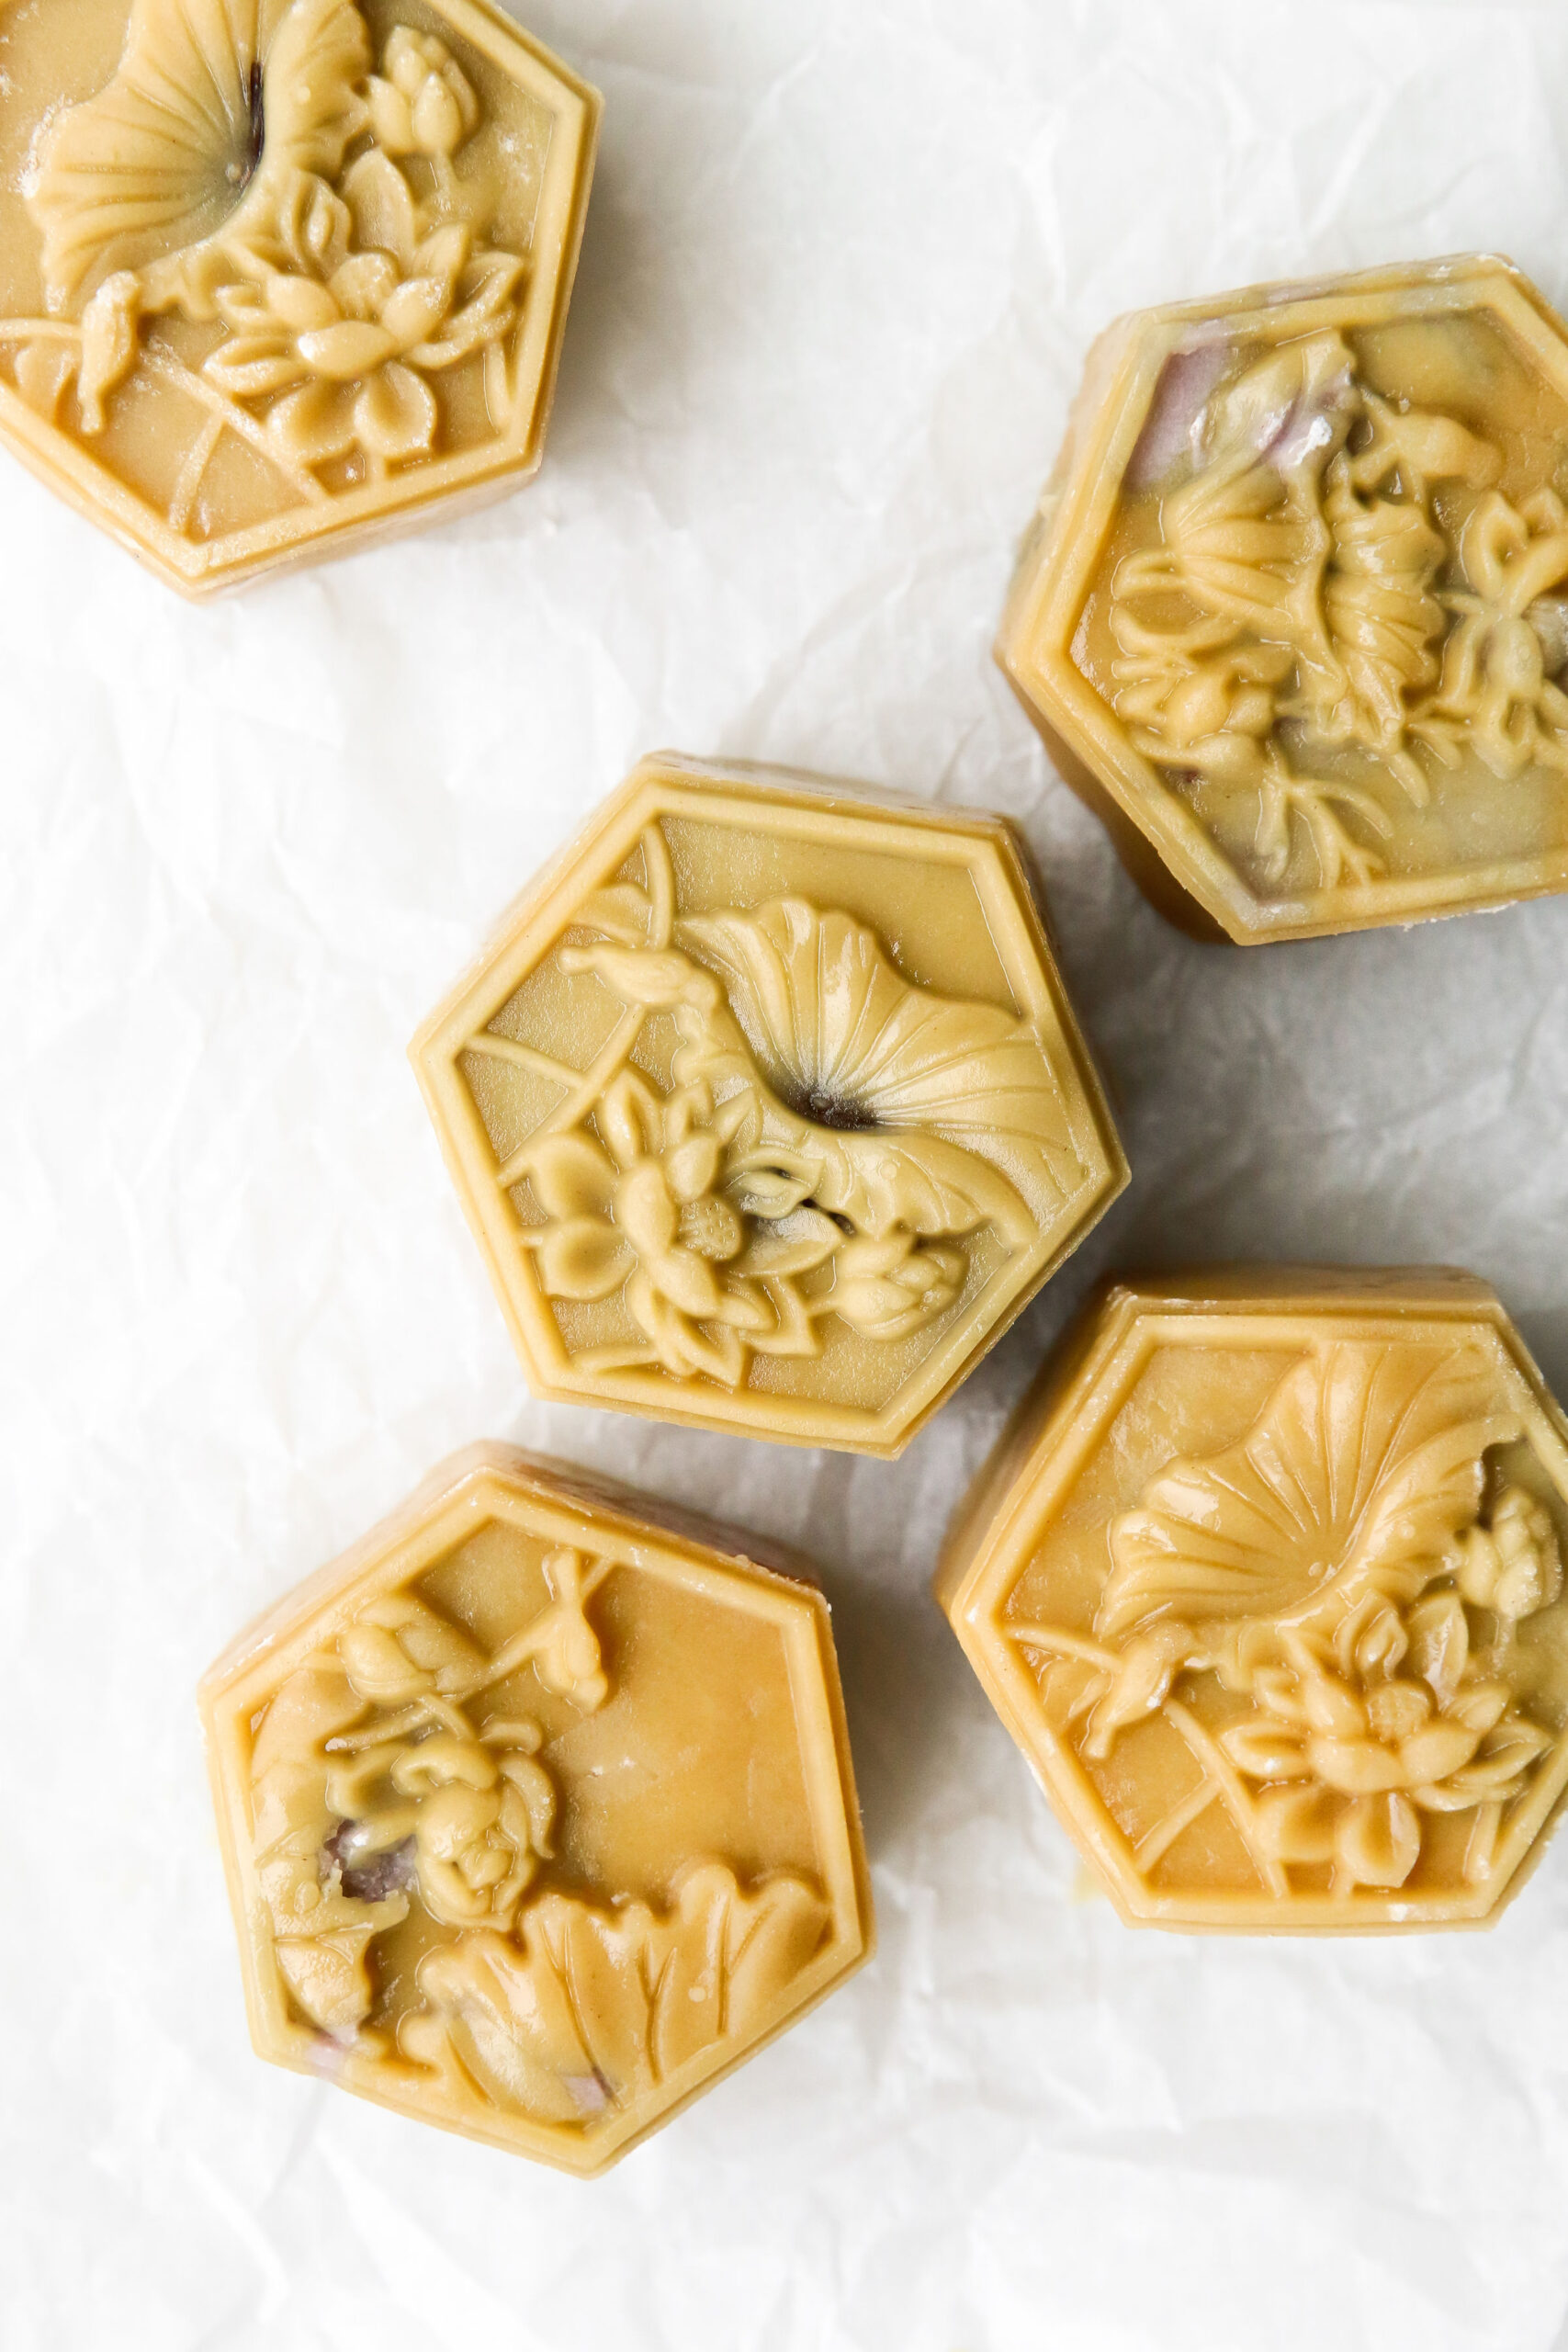
Using a brush, dust mooncake mould with flour. Place assembled dough ball into mould. With the mould facing up, apply gentle pressure to shape the dough ball into the mould cavity. Flip the mould over and press the mooncake down with the top pressure bar. Gently guide the mooncake out of the mould.
Place mooncakes onto a parchment-lined baking sheet.
Using a spray bottle, gently mist the mooncakes with water. Alternatively, you can very gently use a pastry brush to brush a very thin layer of water onto the top of the mooncakes. This will prevent the mooncakes from cracking when baking.
Immediately put the mooncakes in the oven and bake for 5 minutes.
While the mooncakes are baking, prepare the egg wash by whisking together egg yolk and water.
After 5 minutes, take mooncakes out of the oven and place on a wire rack. Brush a thin layer of egg wash onto the mooncakes, making sure there are no large puddles of egg wash. Large wells of egg wash will make your mooncake design less defined.
Bake for an additional 15–20 minutes until deep golden brown.
Remove mooncakes from oven. The mooncakes will look dry at this point (unlike the glossy sheen of mooncakes from the store). Store the cooled mooncakes in an airtight container for a day, and the skin will develop the glossy finish we associate with traditional mooncakes. You will start to see this sheen develop within the first couple of hours.
Note: This recipe makes 12 mooncakes with salted egg yolks and 8 plain ones.