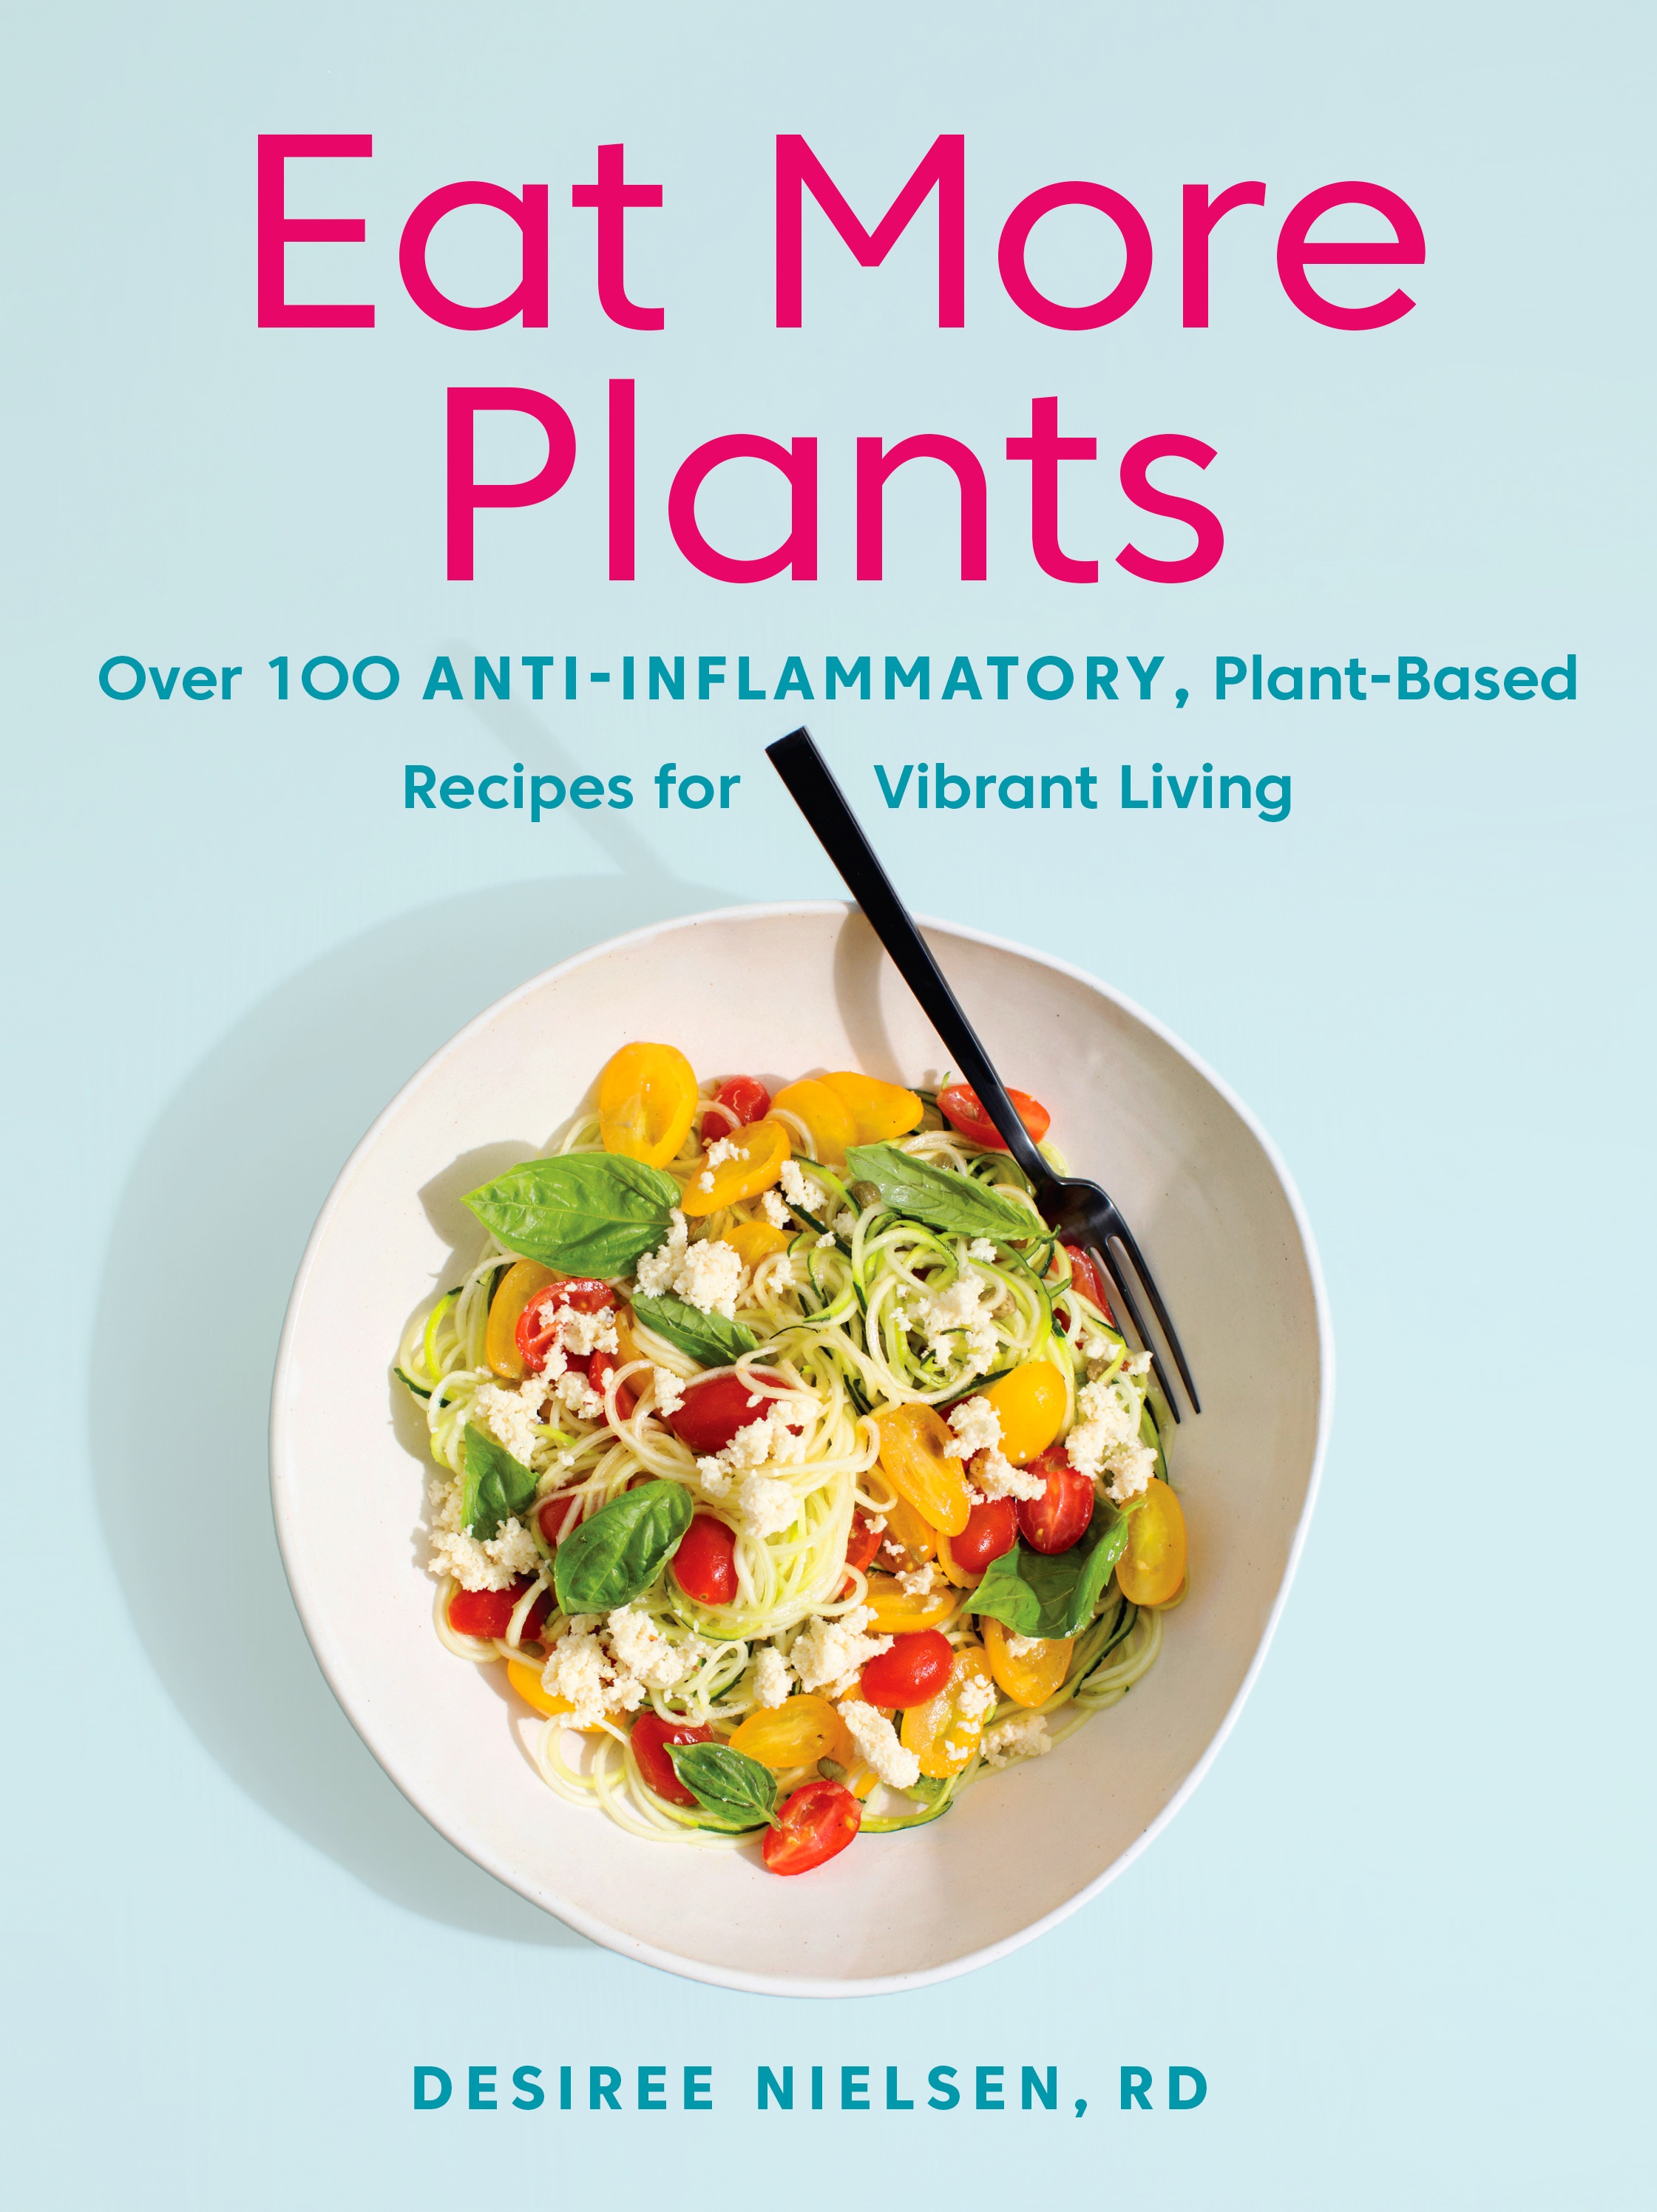
A New Cookbook Demonstrates the Importance of Anti-Inflammatory Eating
Eat well, feel good.
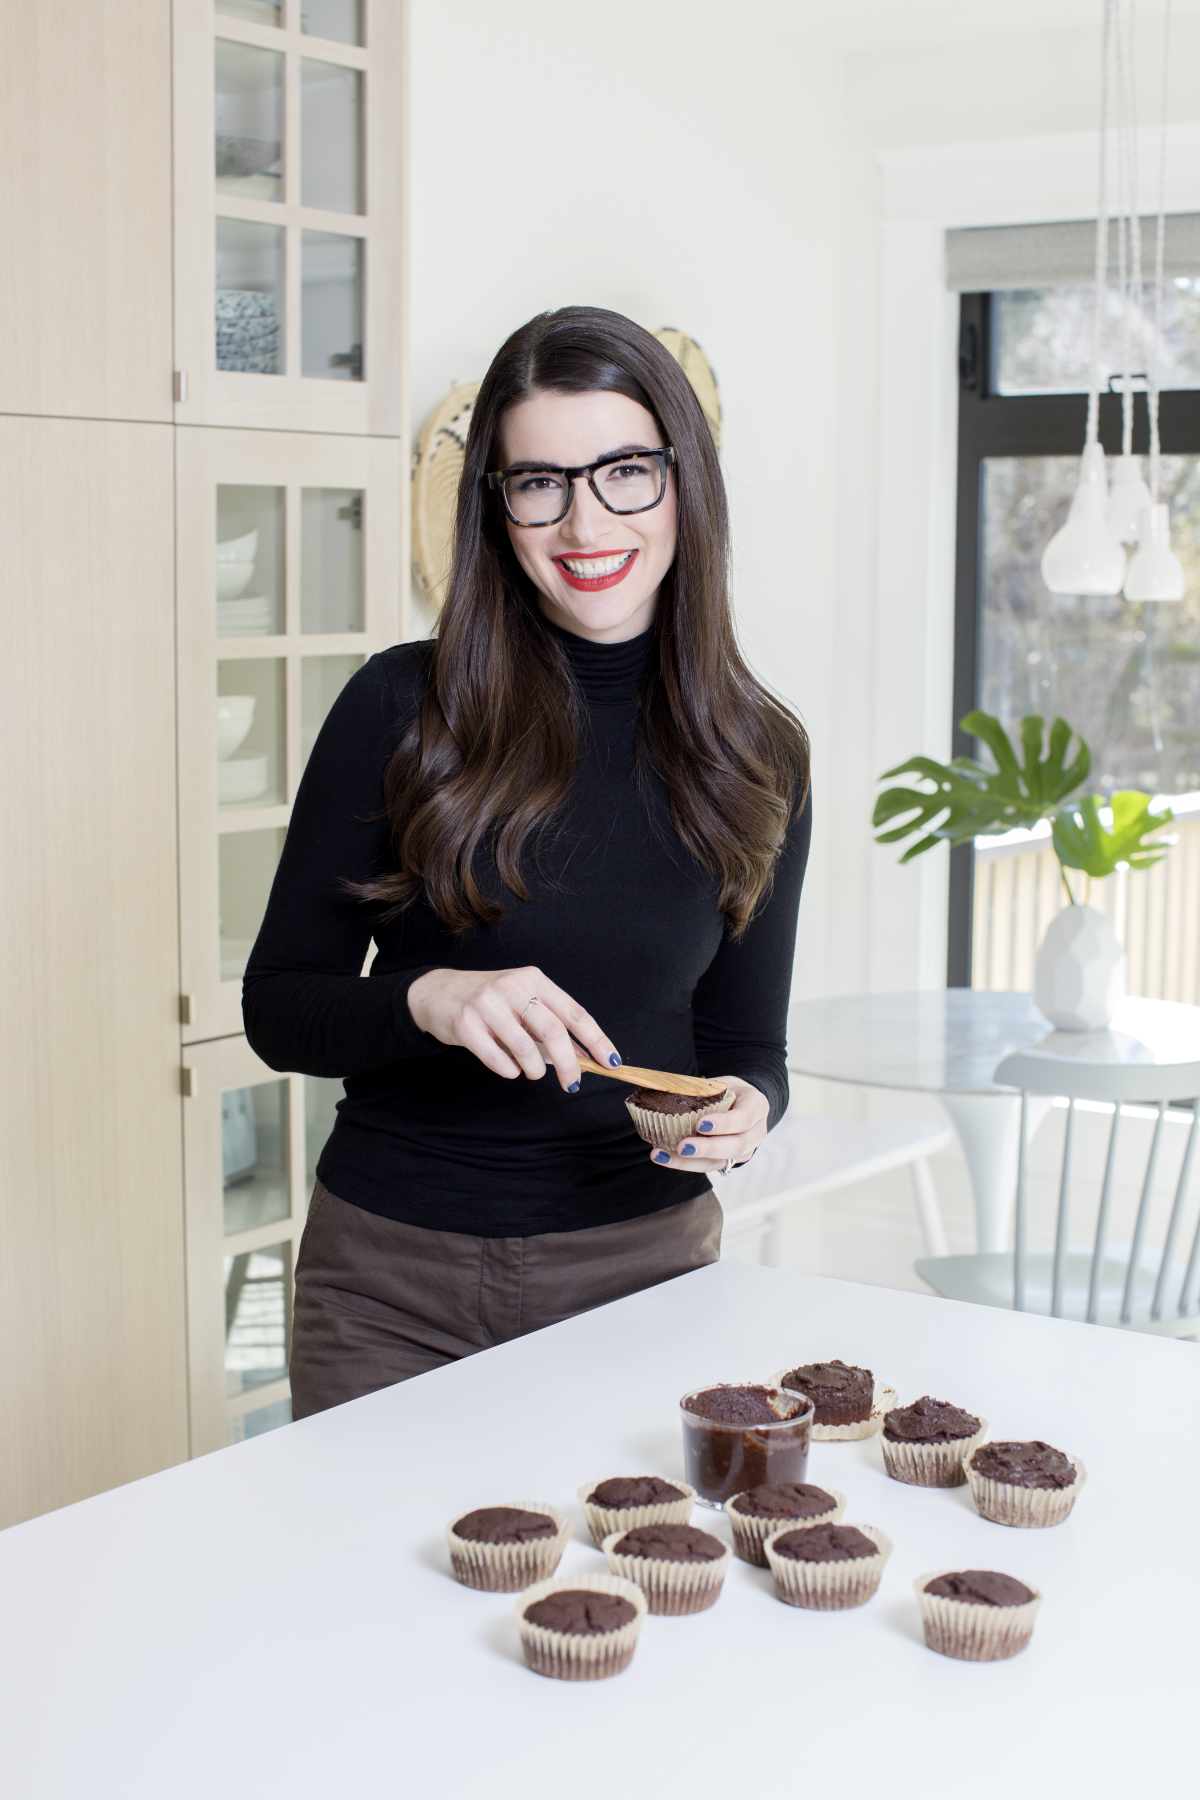
Desiree Nielsen is a registered dietitian, cookbook author, and host of a cooking show called The Urban Vegetarian.
In her 13 years as a nutritionist wading through the ocean of information and opinions about what to eat, Desiree Nielsen has noticed two things: the first is that giving advice about what to eat without showing people what that should look like isn’t helpful. You can say eat more fibre or eat more beans, but as Nielsen points out, “If someone’s never opened a can of beans, they don’t know what that looks like in the context of a meal.” Secondly, she says, “Giving [them] the food is really helpful, but I also want to tell people the why, because you can tell people what to do but if you give them the why, I find that it’s a lot more meaningful. It really connects the behaviour to an outcome.” Creating that outcome is what Nielsen hopes to achieve with her new cookbook, Eat More Plants.
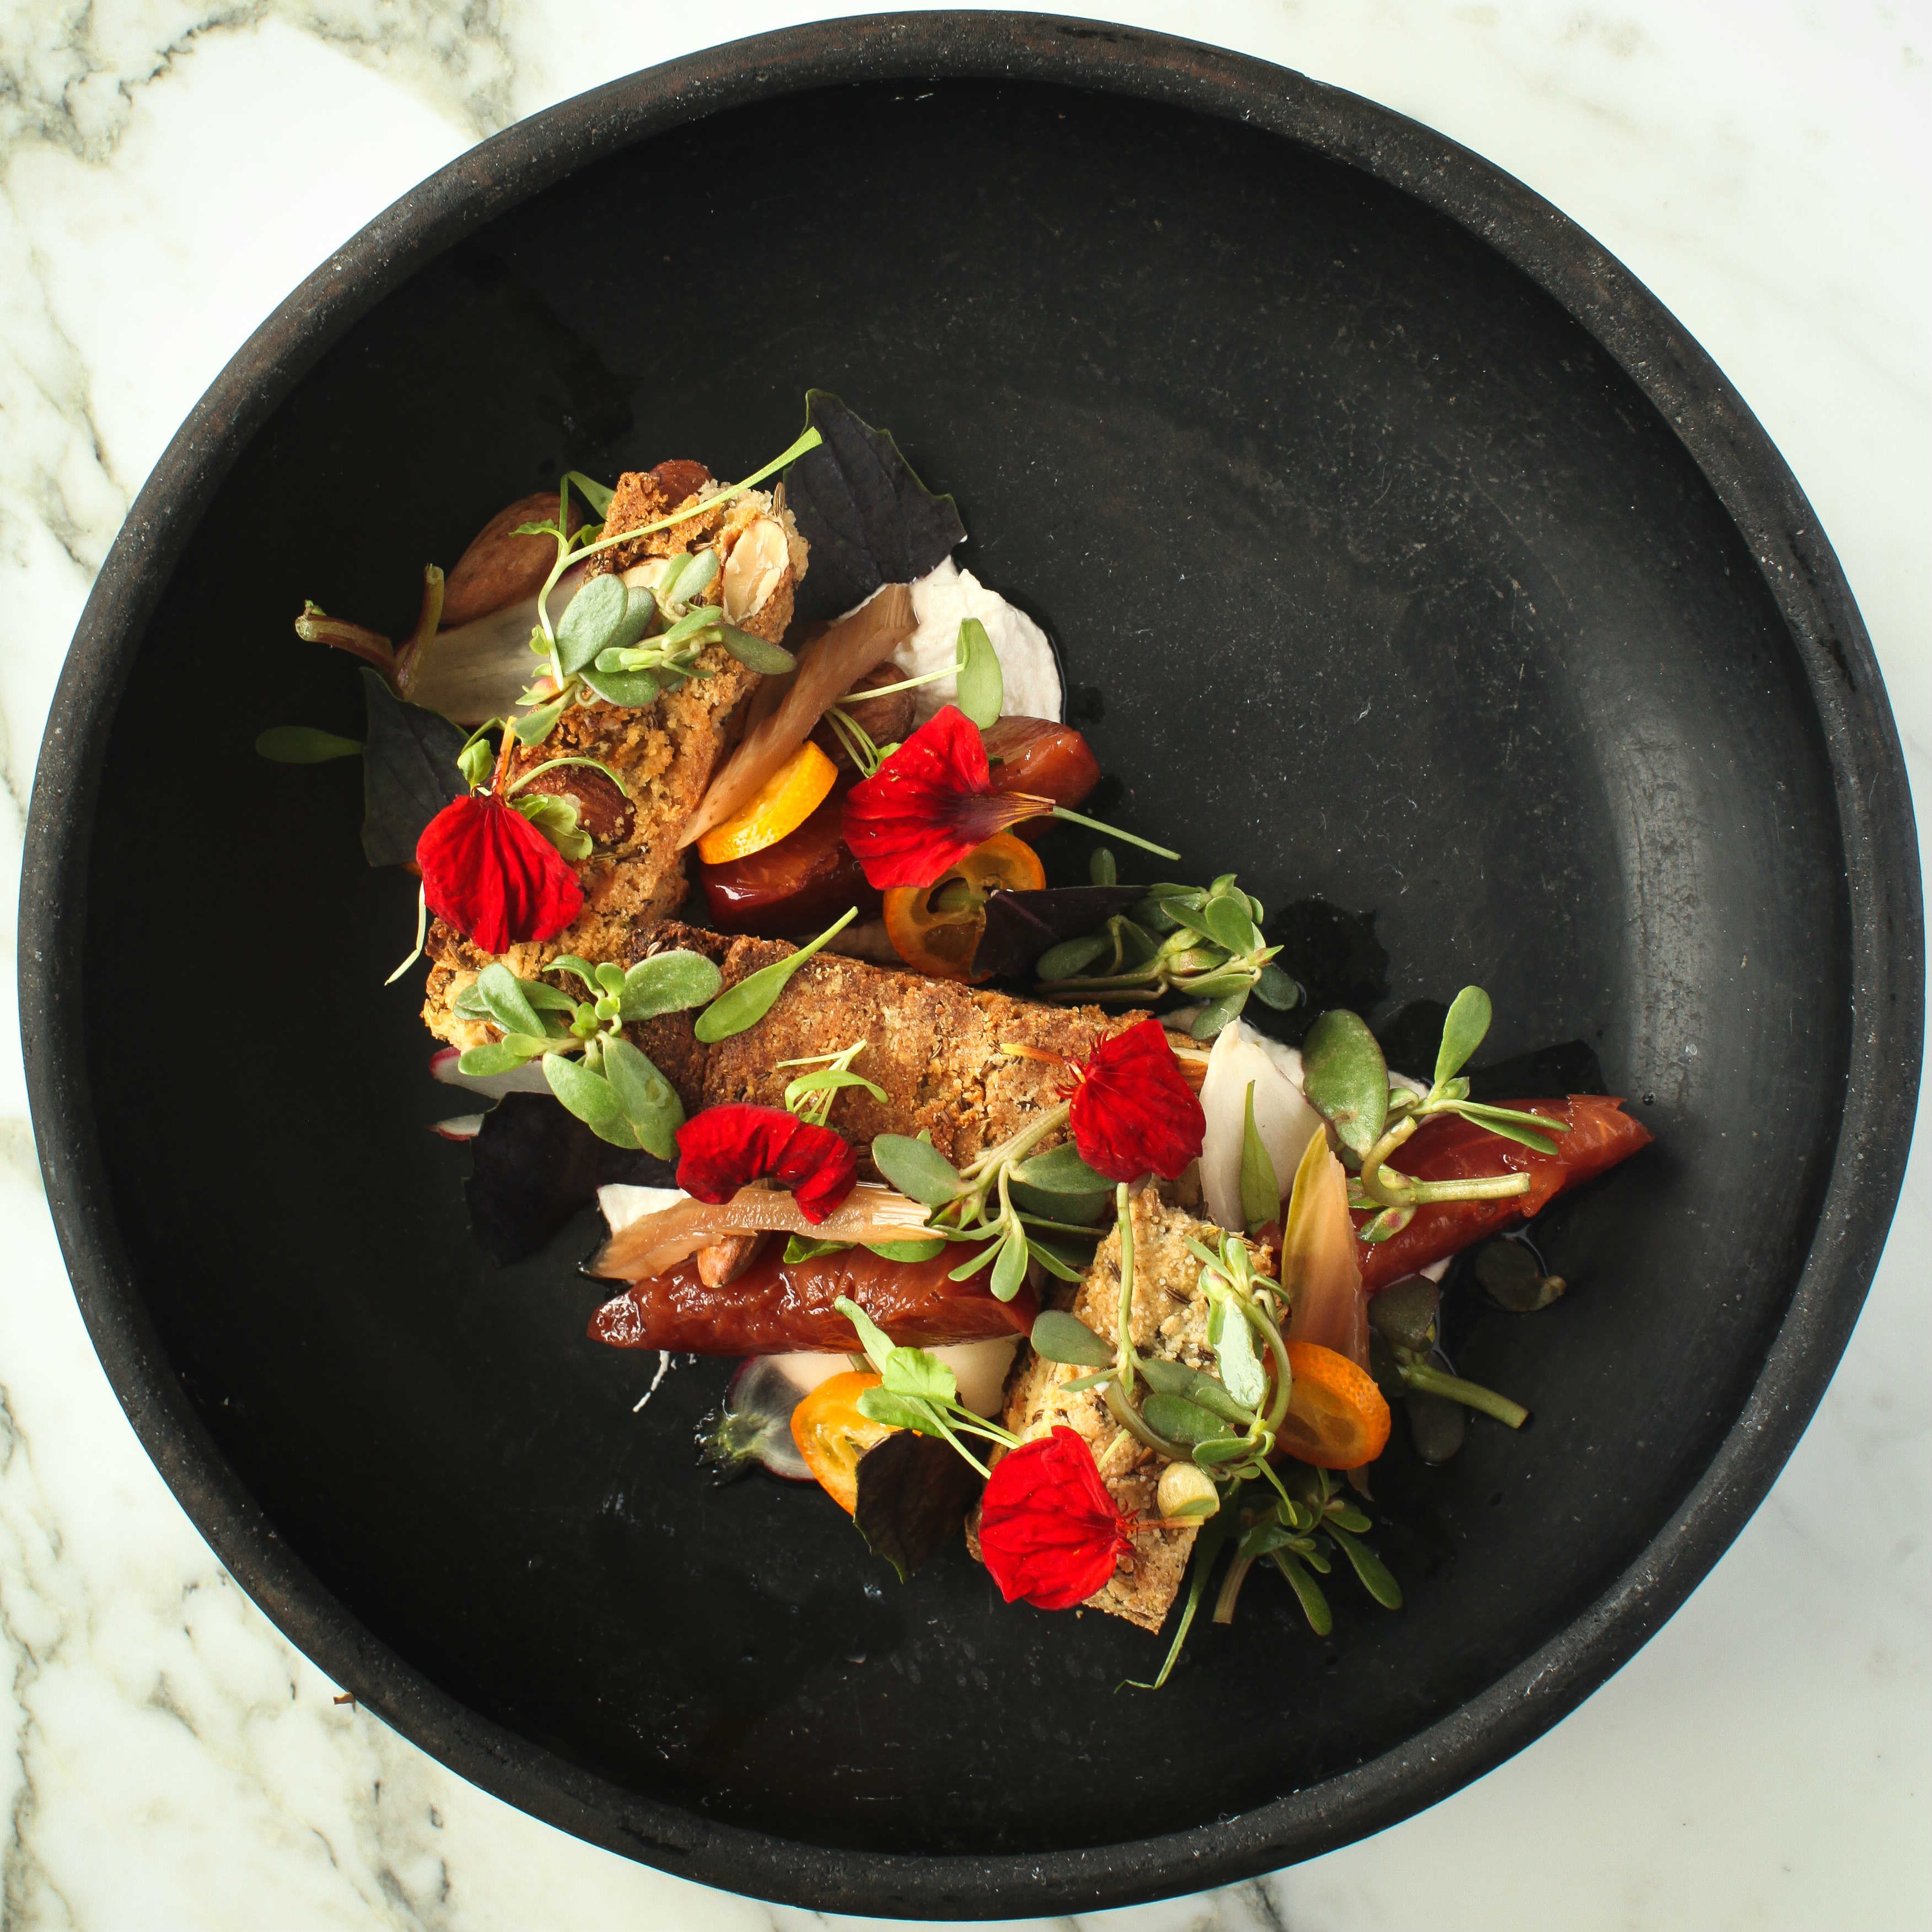
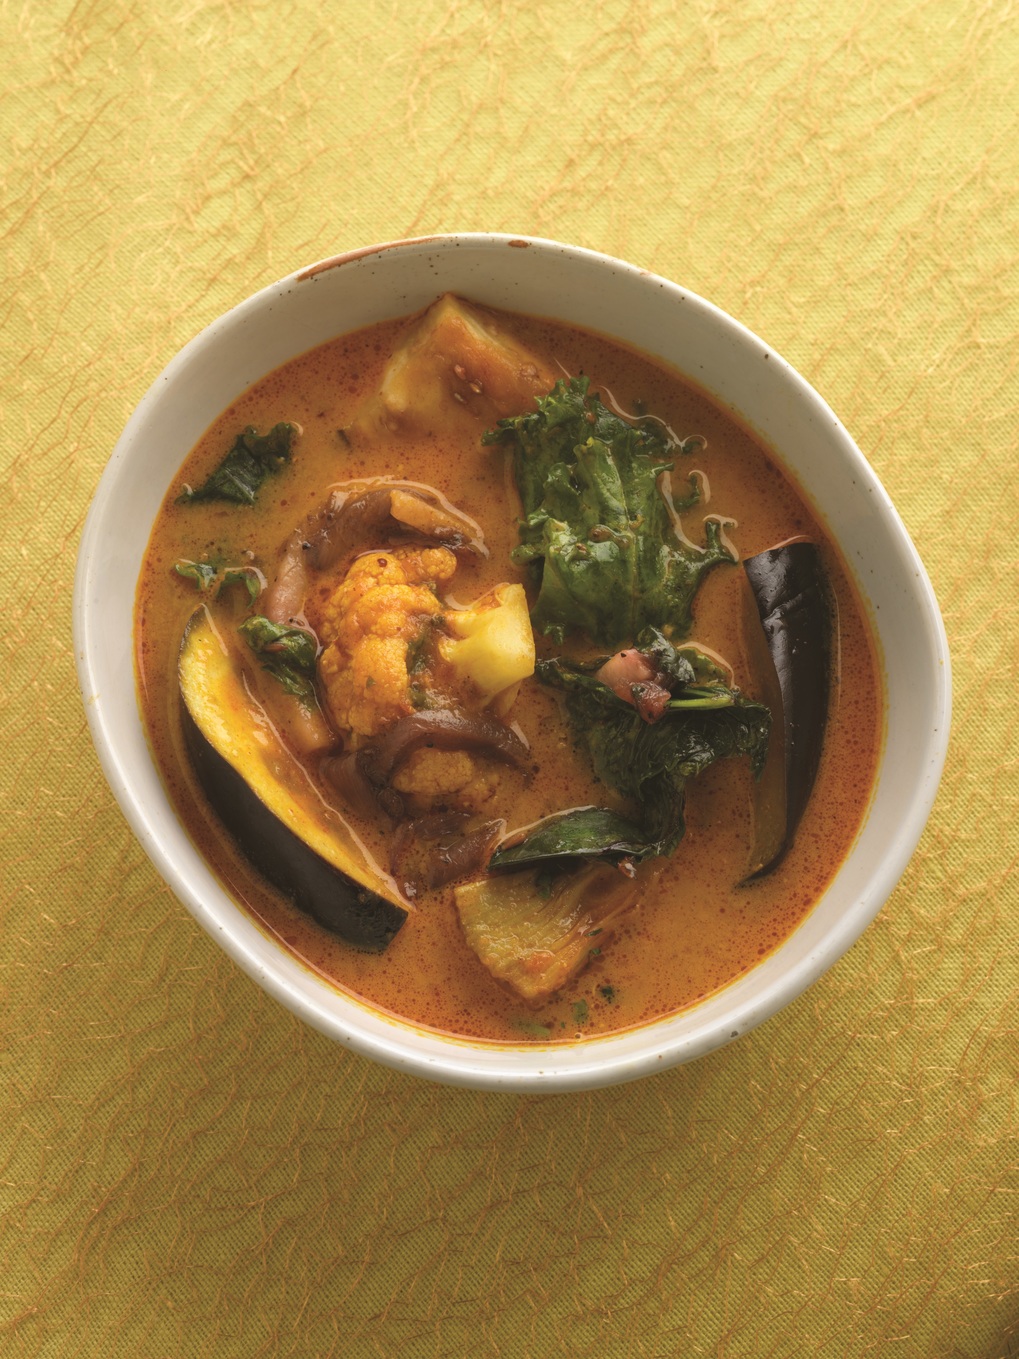
The book, which is out now, focuses on anti-inflammatory, plant-based recipes to create a nutrient dense diet. “Eating this way is really transformative,” says Nielsen. “People underestimate how much better they’re going to feel.” Most think of inflammation as something that’s part of arthritis and old age, but what they don’t realize is that chronic inflammation is implicated in pretty much every chronic disease people face, Nielsen explains. “Chronic inflammation is pervasive in all people of all ages, who don’t necessarily walk around looking that inflamed or that sick.” Eczema, cystic acne, and even depression are inflammatory concerns.
Eat More Plants makes clear that it’s not about sticking to hard and fast rules; it’s about what you do day in and day out to nourish your body. “Anti-inflammatory eating, although we call it an anti-inflammatory diet, isn’t really a diet per se,” Nielsen assures. “It’s a pattern of eating. There’s no one right way to eat.”
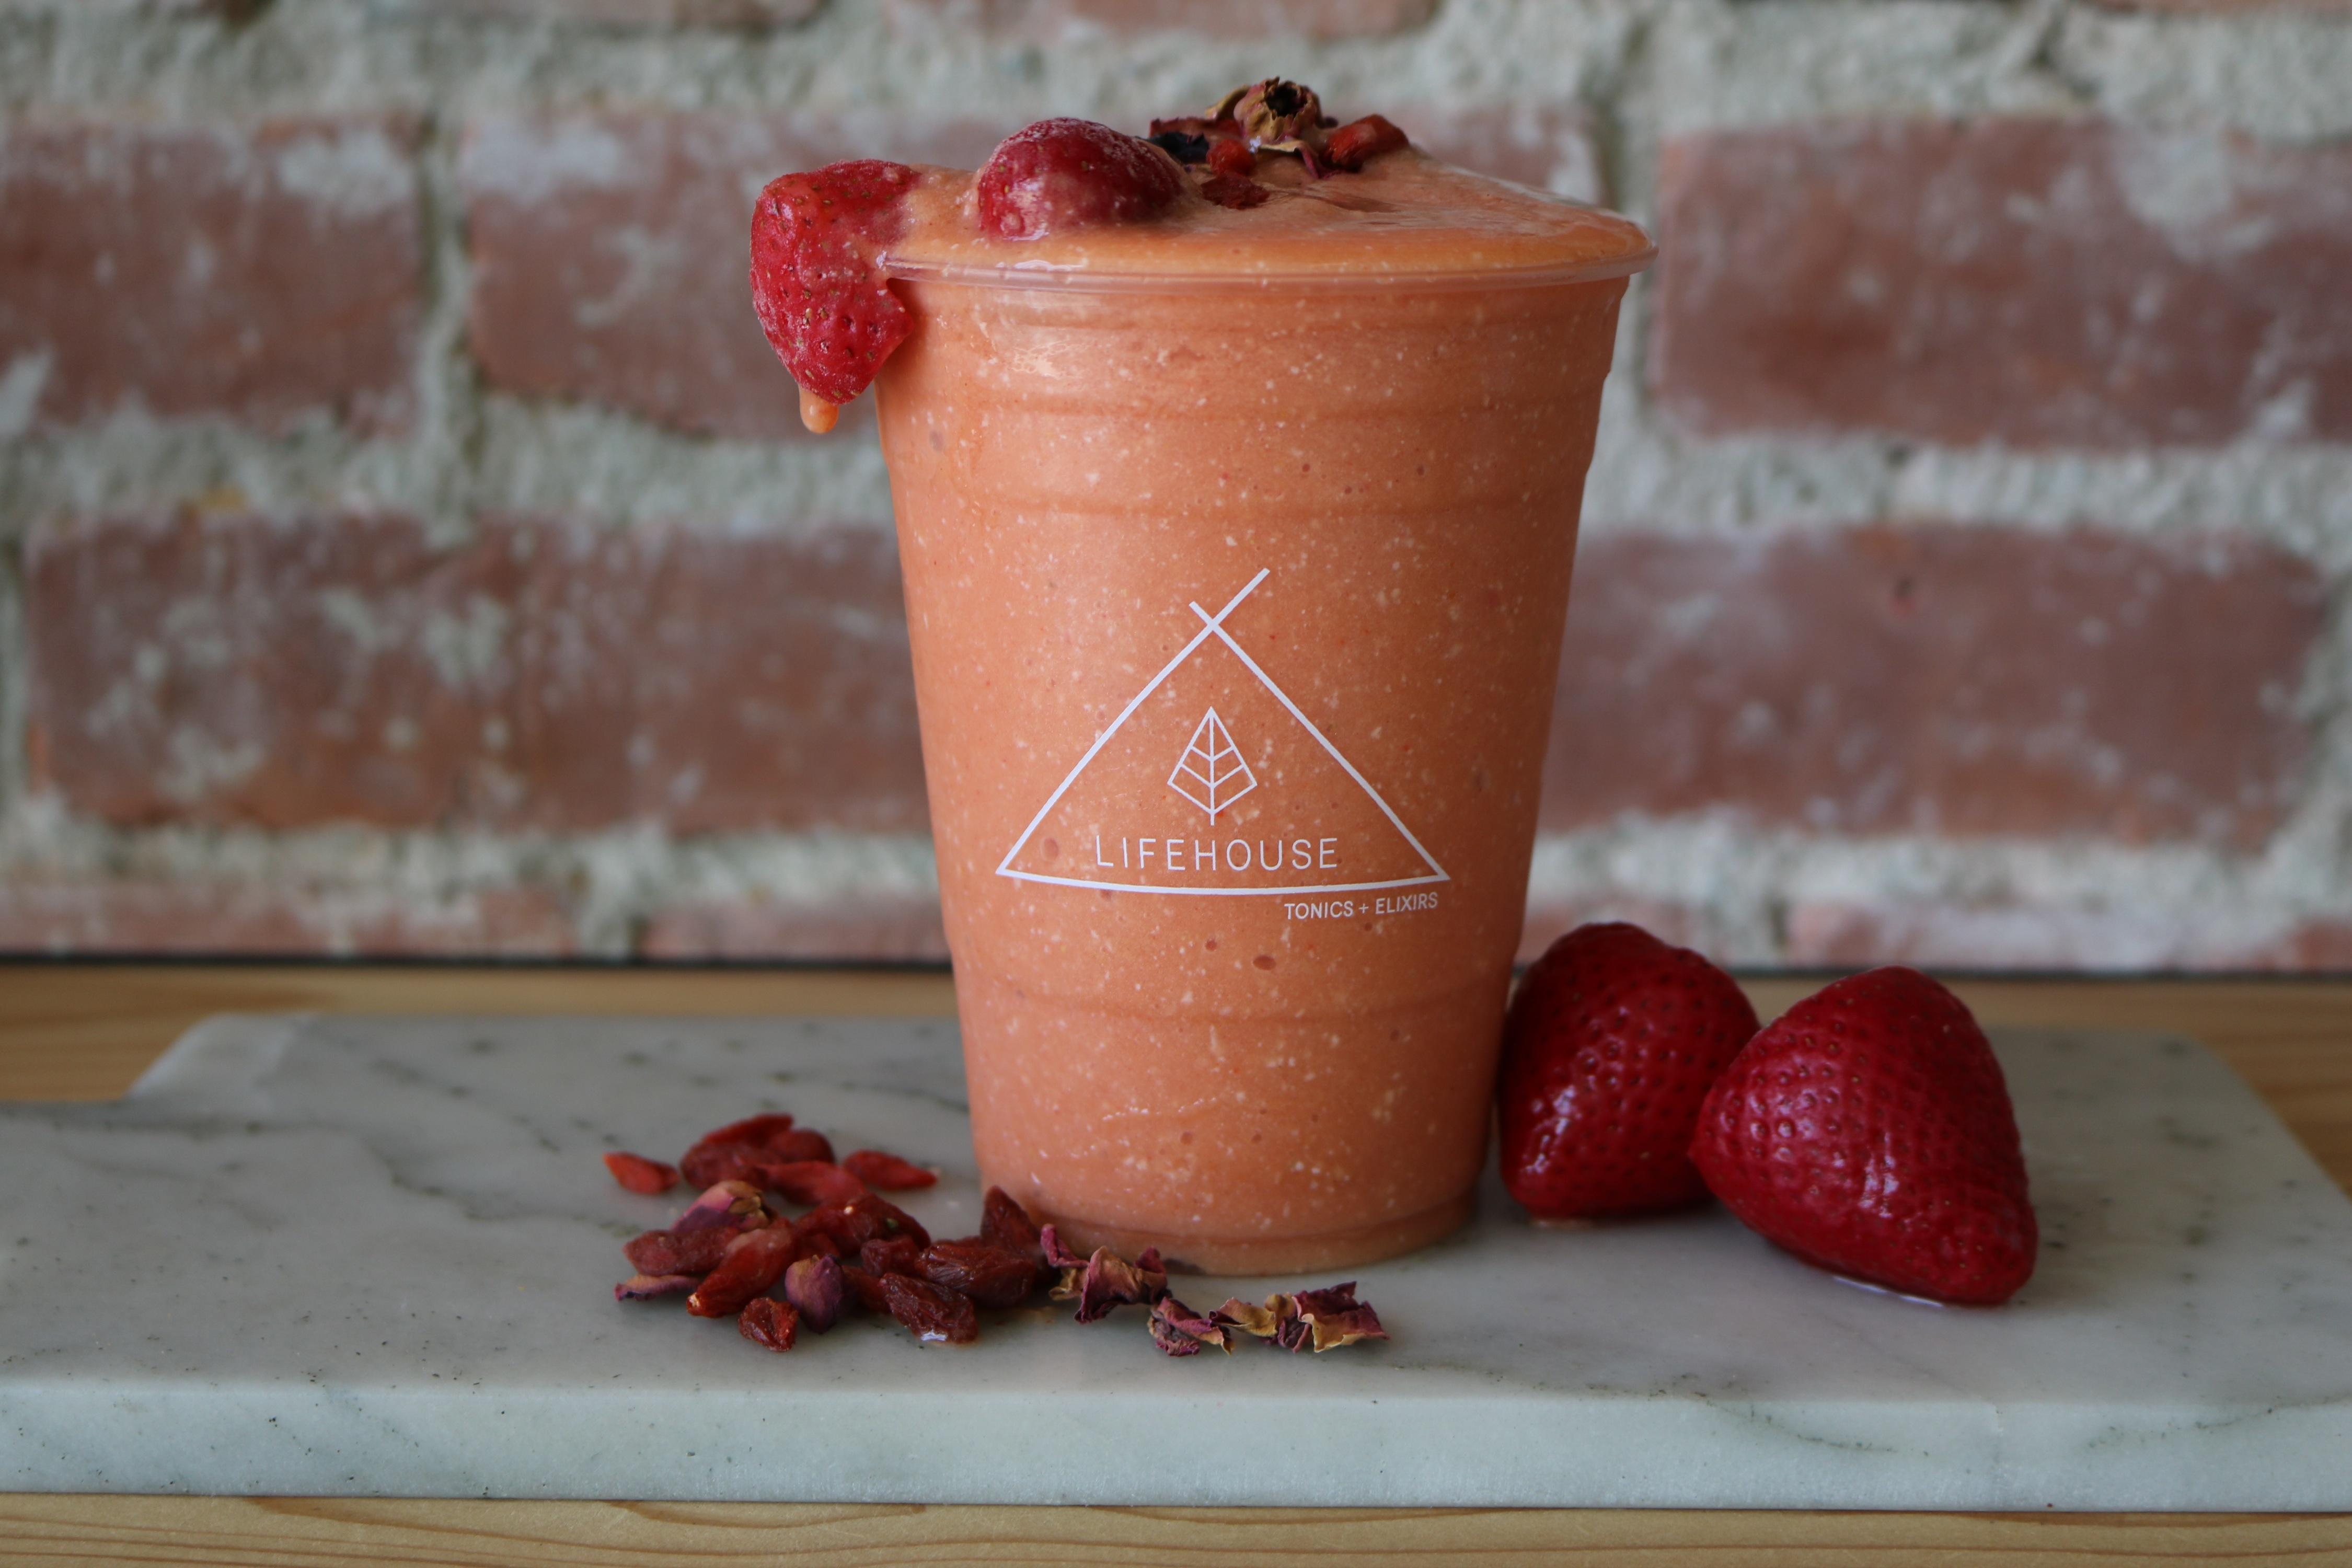
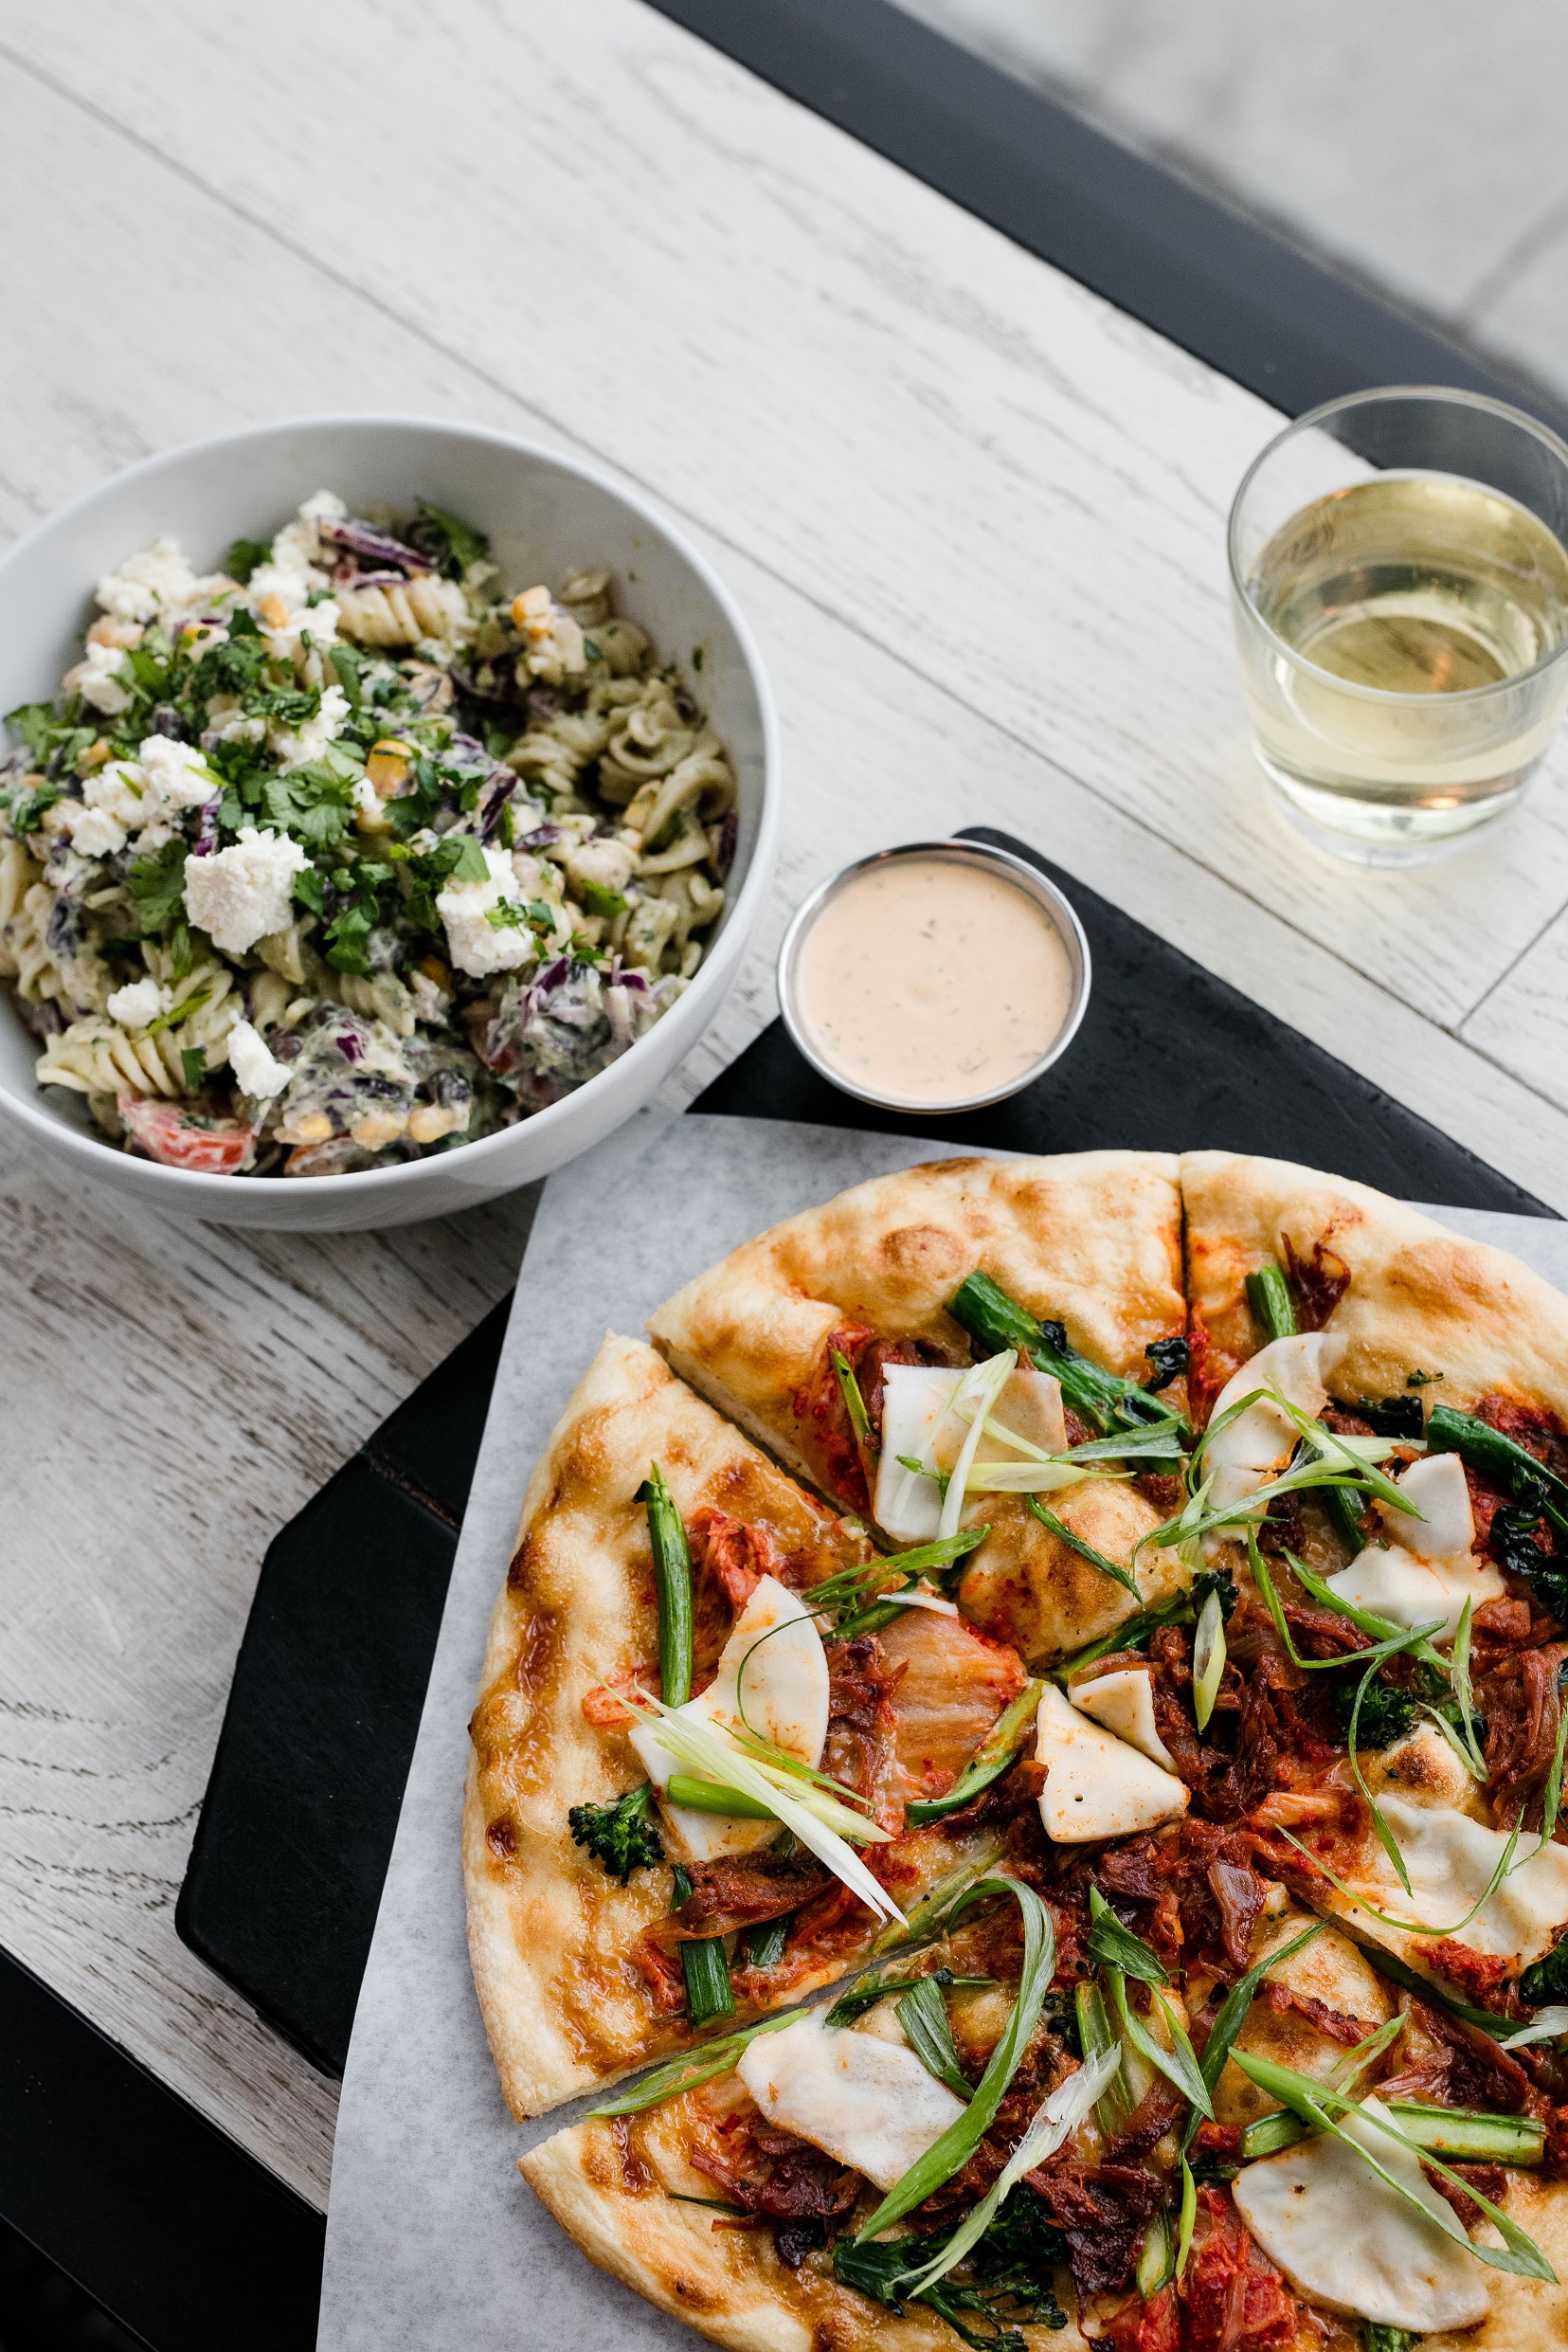
The major shift can be made most easily by focusing on colours. Nielsen recommends dedicating half of your plate to fruits and vegetables, and focusing on those as the anchor of the meal instead of grains. She says, when you make plant-based food your main focus, you are essentially washing your body with nutrients.
“I’m a foodie,” says Nielsen, “and if someone puts a sad meal in front of me, it’s the worst. A bad meal is a missed opportunity.” In the spirit of making the most of every food opportunity, we have taken from her book a recipe for a simple yet delicious snacking staple. Granola bars are portable, filling, and typically packed with sugar and grains and nuts. For people with nut allergies or kids at nut-free schools, that poses a problem. These carrot tahini granola bars are made with zinc-rich pumpkin seeds to support gut health and immunity which prevents inflammation and the creamy tahini butter acts as a nut butter substitute.
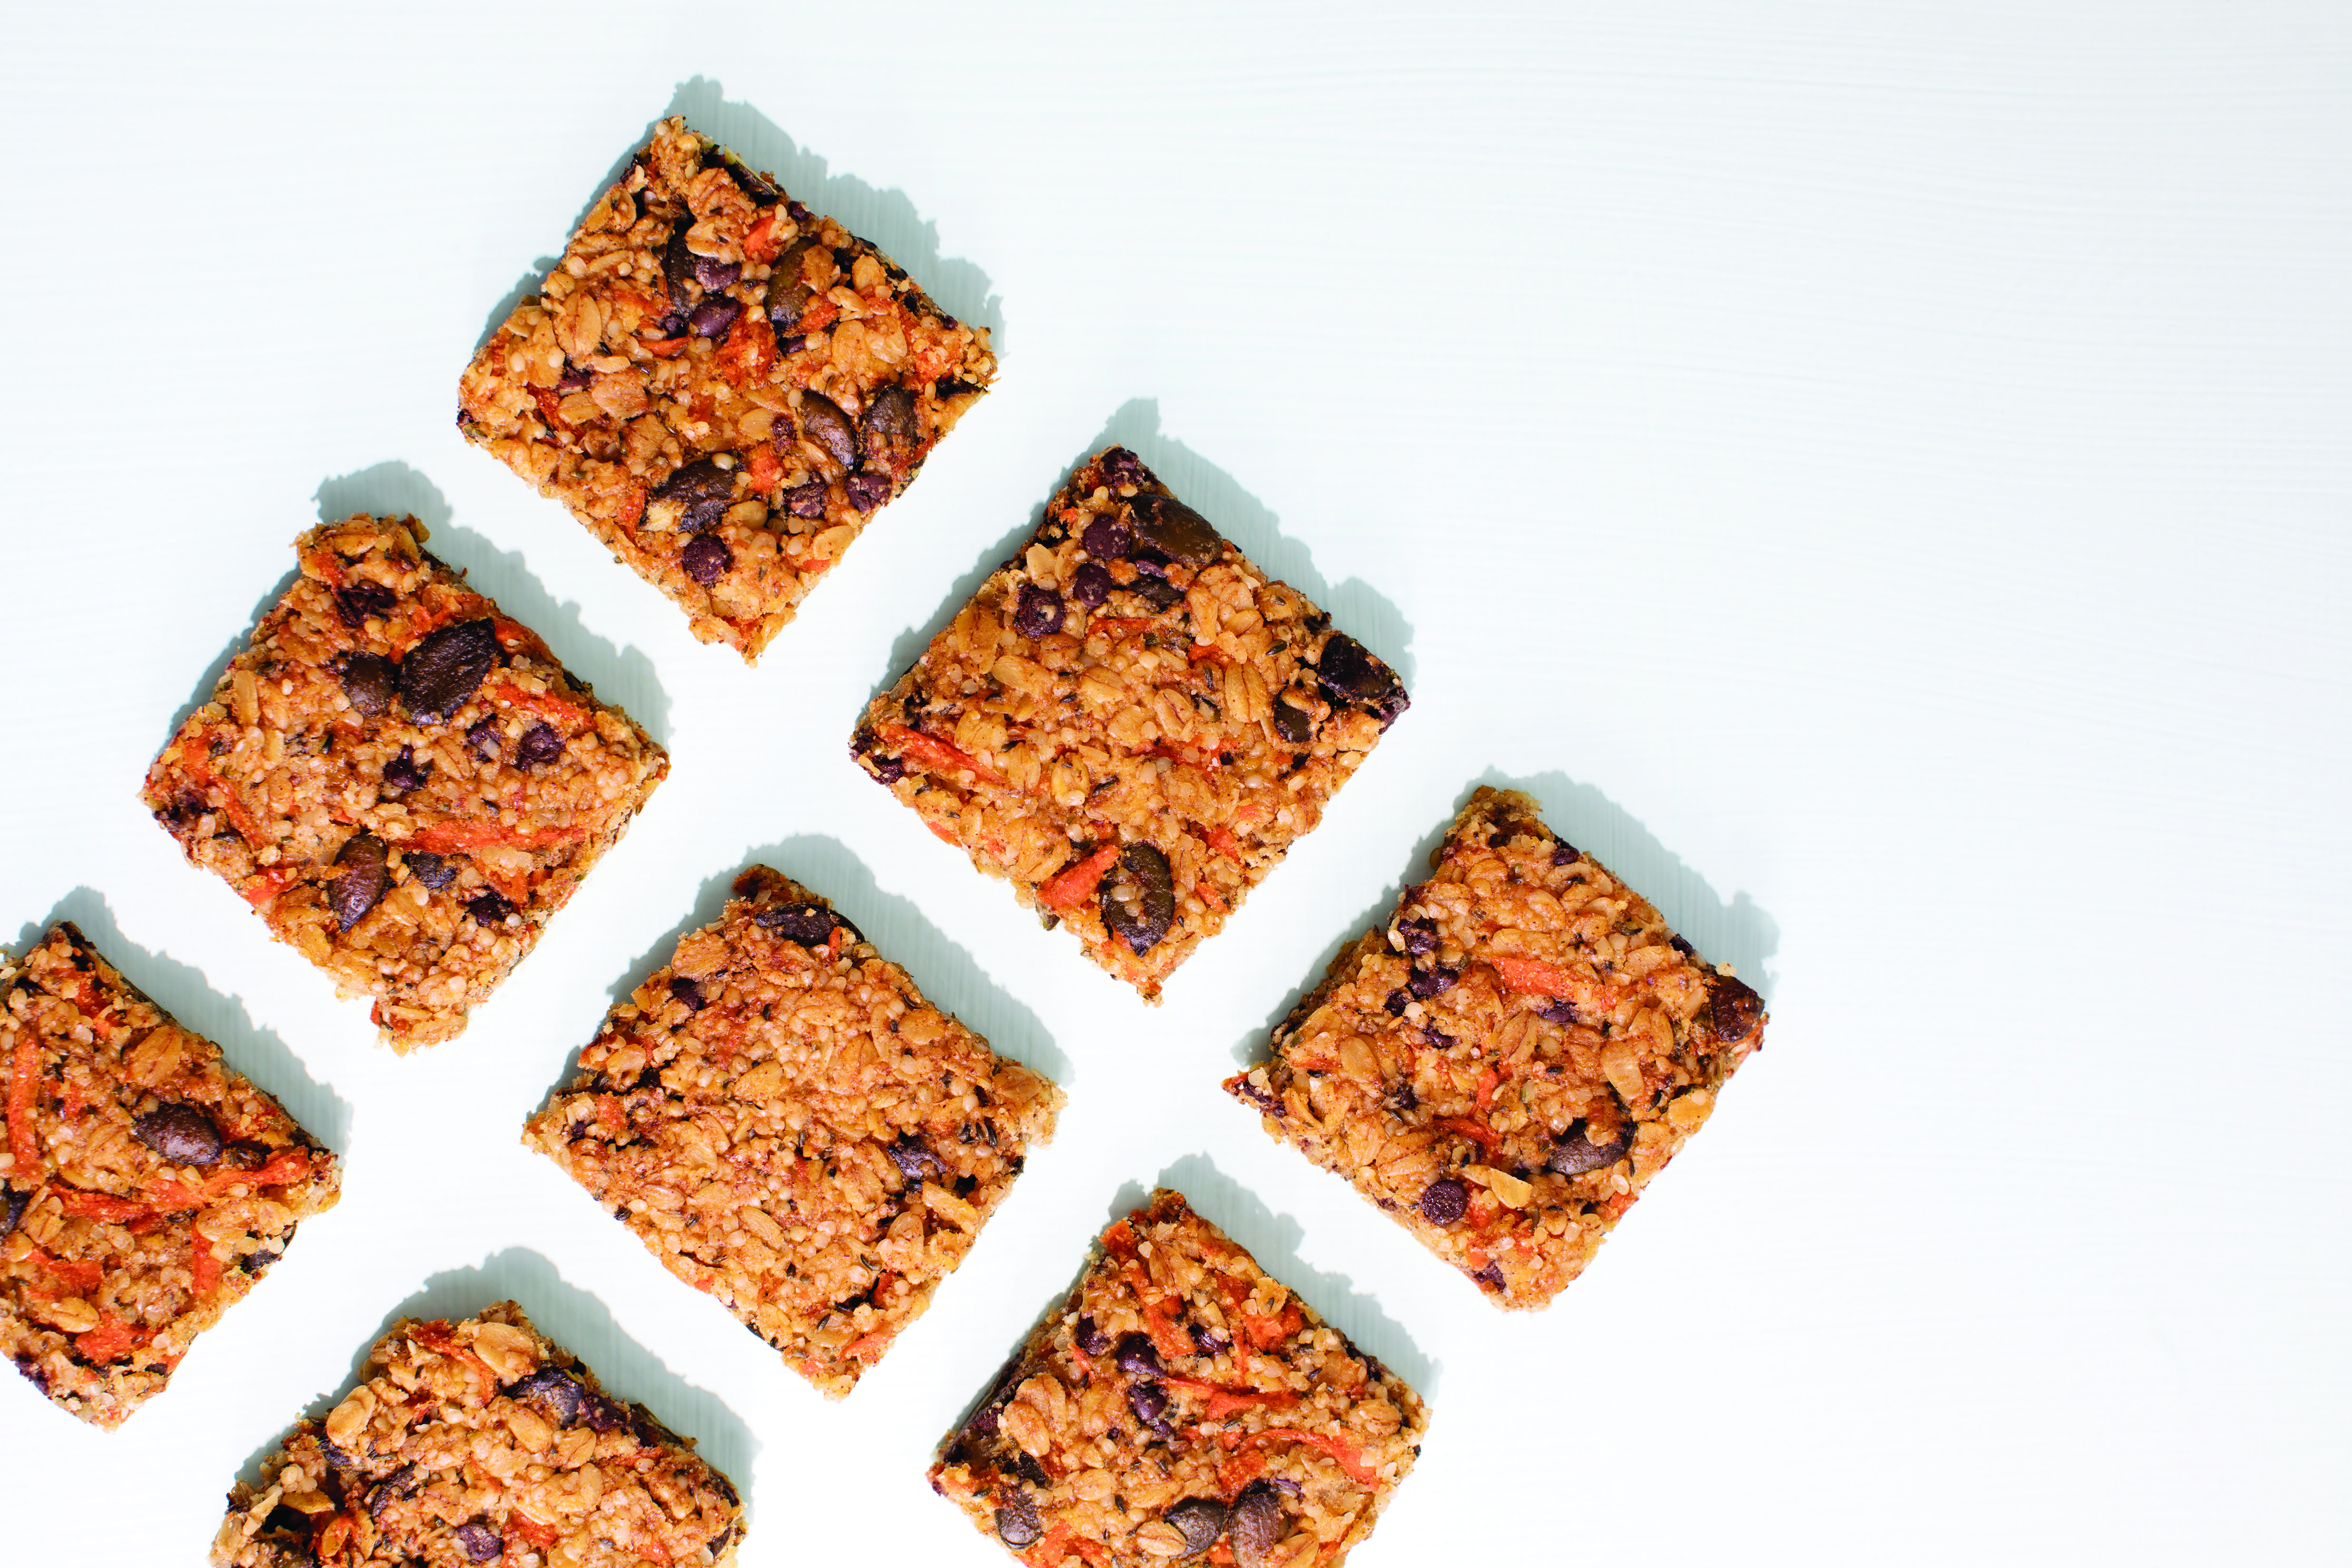
This recipe makes 12 large bars or 24 small squares.
Carrot Tahini Granola Bars
Ingredients
2 cups (500 mL) grated carrot (about 4 small carrots)
1½ cups (375 mL) gluten-free rolled oats
1 cup (250 mL) hemp seeds
½ cup (125 mL) raw pumpkin seeds
⅓ cup (75 mL) dairy-free bittersweet mini chocolate chips
1½ teaspoons (7 mL) cinnamon
¼ teaspoon (1 mL) salt
⅓ cup (75 mL) mashed ripe banana (1 small banana)
½ cup (125 mL) raw tahini
3 tablespoons (45 mL) pure maple syrup
2 teaspoons (10 mL) orange zest (from 1 large orange)
2 tablespoons (30 mL) freshly squeezed orange juice
Method
1. Preheat the oven to 350˚F (180˚C). Line a baking sheet with parchment paper.
2. In a medium bowl, combine the carrot, rolled oats, hemp seeds, pumpkin seeds, chocolate chips, cinnamon, and salt.
3. In a small bowl, mix together the banana, tahini, maple syrup, orange zest and juice until well combined.
4. Add the banana mixture to the carrot mixture and then mix them together with your hands. It is a bit messy (and fun!), but it is the best method for this type of dough.
5. Press the dough onto the prepared baking sheet and spread evenly until about 1 inch (2.5 cm) thick; do not worry about pressing the dough to the edges of the pan.
6. Bake for 25 minutes, until the edges are firm and golden brown.
7. The bars will still be soft in the middle. Place the baking sheet on a rack and let cool for 10 minutes. Then carefully transfer to a cutting board and cut into 12 bars or a size of your choice.
8. Let cool fully to firm up, then store loosely covered with plastic wrap on the counter for up to 5 days. These bars also freeze well, tightly covered with plastic wrap, for up to 1 month.
Excerpted from Eat More Plants by Desiree Nielsen. Copyright © 2019 by Desiree Nielsen. Published by Penguin, an imprint of Penguin Canada, a division of Penguin Random House Canada Limited. Reproduced by arrangement with the publisher. All rights reserved.
_________
Never miss a story. Sign up for NUVO’s weekly newsletter here.